Showing posts with label Anti-Shine. Show all posts

14 March 2014

Finishing up: EIR Legion Standard Bearers!

Finishing up the group of EIR Legion Standard Bearers is a lot of fun because they are such unique minis with lots of character and animal pelts--Bears, Lions, Wolves!
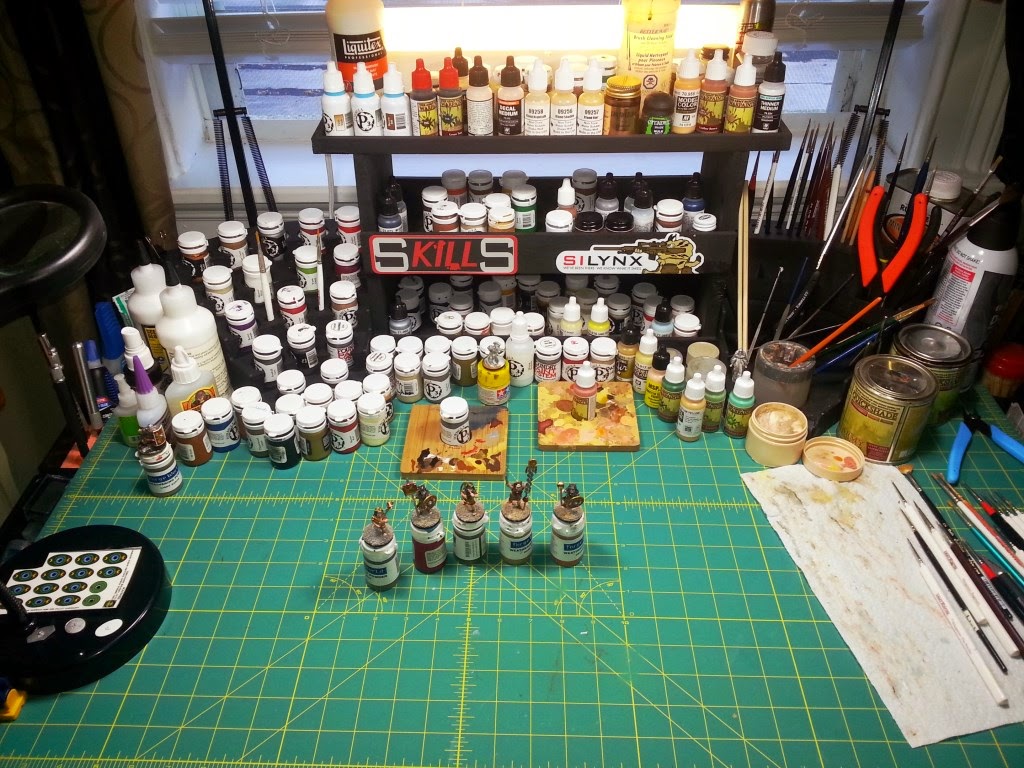
Once all the mini's painting and gloss protective varnish was done and I'm satisfied with the job I've done, I now apply the "ground cover" to the base with a mix of HO railroad ballast and fine grit from G9.  I apply straight scenic PVA glue and then using a shot glass I pour the ballast mix on to the gluey base.  I shake of the excess and wipe the edges of the 2mm thick MDF round base (25mm) to remove stray glue and ballast.
Next I prep the dip (warm water soak) and apply it to the figures.  I stir it really well and always use an older set of brush.  I have the mineral spirits standing by.
The key for me is to apply the Army Painter Quick Shade "dip" varnish really thick in the folds and corners of the mini and then let it run down of the rest of the figure.  After 5 minutes or so I remove the excess dip with the mineral spirits (as I explained in my Primus Pilus tutorial).  This gives me a lot more control over how I let the varnish dip dry on the mini instead of the recommended shaking off of the excess dip (which not only makes a mess but is to random for my tastes).
I paint the base ground cover after the dip varnish has mostly dried using P3's Hammerfall Khaki as the main layer and then drybrush it with a variety of Vallejo Beige and Yellow Tan paints.
One of my last steps as I finish up the figure is to apply a small stone or two to the base.  I have odd shaped talus that I paint grey and then dry brush with straight white to make the small stones really stand out.

I ran into my first really bad "frosting" problem when I sprayed them with Army Painter Anti-Shine matte coating on these minis.  It was really bad on the Cornicen and the Eagle carrier.  I tried a second coat after shaking the can for a very long time, but it was still frosted and white-dotted.  After a quick search on the excellent TMP Forums, I found the olive oil solution thread and gave it a go.  And it worked...sort of.  It looked "oily" of course after I applied it, so I had to re-touch up with liquid matte varnish.

With the potential to ruin a lot of my painting efforts if this happens again, I think I might switch to the paint-on application of Testors Dull Cote liquid matte varnish in the future.

17 February 2014

Finishing Up! (Part 2b of Painting WLG's Primus Pilus Centurion 28mm metal mini)

I'm now finishing up the Warlord Game's 28mm Centurion Primus Pilus metal alloy figure once the Army Painter Quick Shade has dried.
I use a mix of Gale Force 9 Super Fine Grit and Woodland Scenics Medium Gray RR Ballast.  I apply a thin coat of Woodland's Scenic Glue over the entire base...I like this glue because it goes on thick and thins very well with water and dries completely clear.
I shake lose any lose grit or ballast and allow the glue to set-up for about 10-15 minutes before I start to handle or start to paint.
I paint the round edge of the 2mm thick MDF base with P3's Battlefield Green.  I then drybrush a mixture of Vallejo's Yellow Ochre and Beige on the grit and ballast along with P3's Hammerfall Khaki, with an eye towards highlighting the rough and uneven terrain.
Once the highlighting is done, I apply some more non-thinned Scenic Glue to the base where I will want the grass and foliage to appear.  I apply the glue using a smallish synthetic brush and I just dab it on randomly.  Next I apply a pinch of Woodland Scenics Field Green Fine Turf and Light Green Coarse Turf to the glue in various spots mixing the two together, shaking off any excuse once the glue is semi-dry after 5 minutes or so.  After about an hour, I will gently blast the mini with a canned air computer dust cleaner to remove any ling, hair or debris that may have found its way on to the mini. Lastly I apply any paint touch-ups needed on the mini (with foreground figures I will highlight the sword with P3's Quick Silver) and then spray with Army Painter's Anti-Shine Matte Varnish Spray.

I apply 2-3 very light coats of the Anti-Shine over the entire figure and base.  I always make sure the garage temperature is not to cold and the humidity is not too high outside (which is tough during a Florida Summer).  Those two factors will ruin your work as the matte varnish will dry cloudy and spotty.  I allow the mini to dry for an hour or so before handling it and checking once again for any touch-ups that maybe needed.  Presto, the figure is done...time for a brew!