Here is my step-by-step process for painting and finishing a Warlord Games' Centurion "Primus Pilus" Early Imperial Roman Legion 28mm metal alloy figure (Part 1 of 2, actually 3!).
Step 1 -- I remove all metal "flash" and mold lines with a file and a
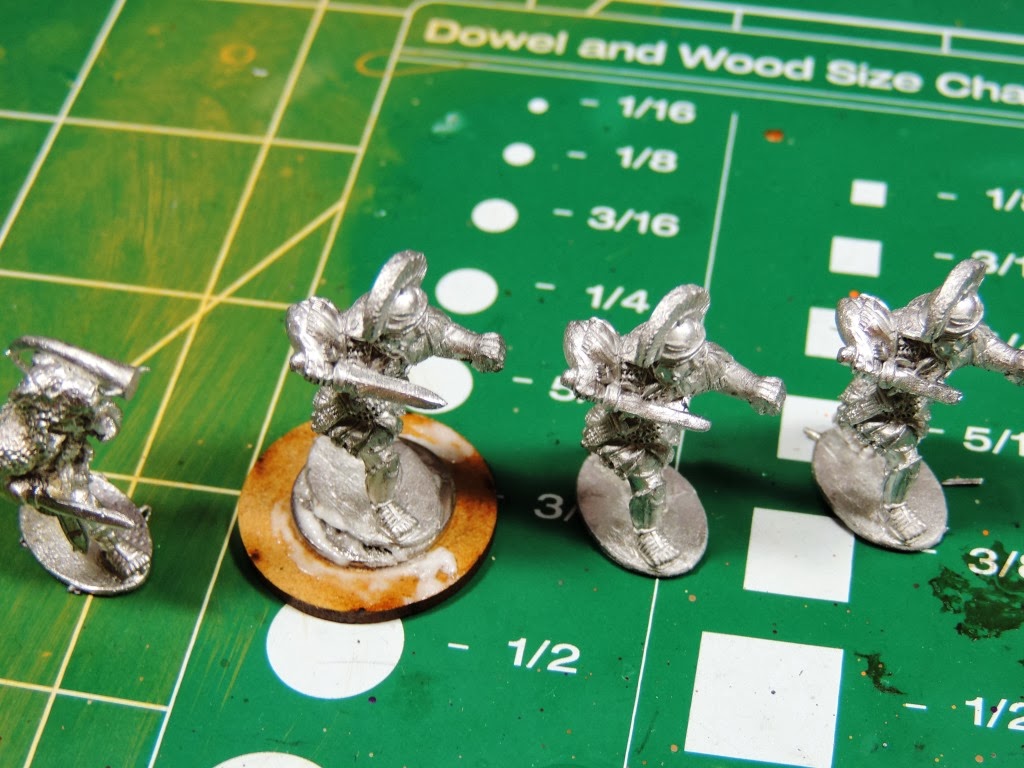
sharp hobby knife. Attach the WLG mini to a 2mm MDF 25mm round base with a metal washer between the figure and the base. I use
Gorilla Glue's Dries White 2x Fast glue (it is great because you only need a little bit and using an old paint brush I apply a little water to the mini's base and it activates the glue!). I use the metal washer because the plastic 28mm figures from WLG weigh next to nothing and this adds some bulk. And since I will use a washer in that application I need to do it for all the minis' height consideration.
Step 2 -- I use P3's outstanding
Black Primer on the figure and the base. I apply P3's White Primer to the front and back side of the Scutum (shield). As I stated in my previous post I am using only Wargames Foundry's metal shields for my new Cohort.
Step 3 -- I drybrush on my armor color using either Foundry Paint Systems' Chain Mail or P3's Pig Iron (both look great to me and I will use both to get some variety in the Cohort's color scheme). I paint the helmet and the Gladius (sword); as well as the shin guards. For the backside of the shield I use a craft-store cheap Raw Sienna paint and just slap it on with a cheap brush. This gets the laminated wood color done quickly for an area of the finished mini that will not really be seen.
Step 4 -- I paint the armor further using FPS' Metal or P3's Cold Steel, I attempt to highlight the armor's main raised areas. And I paint the sword as well.
As you can see I don't worry about "over painting" onto different body parts. This is the first rough-in painting of the armor.
Step 5 -- I paint the flesh now and paint the face with eyes (I use regular white for eyes and P3's Coal Black for the pupil). Flesh is "hard" for me to figure out what looks right. I have purchased at least 10 different flesh tones from various paint makers and haven't really found the one I like. Some are to "pinkish" others just look like weak browns to me. For this Centurion I am using a 50-50 mix of Army Painter's Tanned Flesh and Reaper's Master Series Paint High Density Caucasian Flesh. I like the final result I think. I also paint the leather Caligae (sandals) using P3's Bootstrap Leather. I did this to ensure I was getting the toes painted correctly.
Step 6 -- I paint the red portions of the standard issue tunic, the Centurion's trademark transverse crest and his scarf with P3's Skorne Red.
Step 7 -- I paint more leather gear, like sword straps and his military decorations/award harness with P3's Bootstrap Leather. I paint the metal links of the Centurion's belt with P3's Molten Bronze, as well the sword scabbard raised areas, and the Gladius hilt. I like the tone of this paint as it look likes aged/worn bronze metal.
As I go I touch up any parts of the armor that I mess up with P3's Cold Steel. As I warm up during the painting session I have to do this less and less.
Step 8 -- I paint the Centurion's decorative over-tunic with P3's Morrow White (I use pure white despite its "brightness" because I will dip this figure later using
Army Painter's Quick Shade Dipping varnish). I highlight the tassels with P3's Solid Gold.
I once again look over the model to clean up any stray paint marks and fix with the appropriate color(s).
Step 9 -- I now add the Scutum to the mini using CA glue and Insta-Set from Litko models. I paint the shield's boss with FPS's Chain Mail and the metal edge with P3's Brass Balls. Once dry I cut out the
Little Big Men Studios shield transfer and apply it to the shield; I really love these. I prefer to use a Matte Medium or the water-based Decal Fix from Vallejo over the shield. This ensure a proper weld of the decal to the shield surface, which later also prevents the Dip from going underneath the decal and ruining it.
After that dries I touch up the edge and the boss as needed; I highlight the boss with P3's Quick Silver also. I really like this version of LBMS shield transfer, the insignia is spot on for me.
Step 10 -- I apply a quick-drying spray of
Krylon Crystal Clear to the mini lightly in order to seal it and this protects the Centurion figure prior to my "dipping".
You don't have to worry the Gloss shine of the protective spray because later after the dip dries I will Matte Varnish the model with
Army Painters Anti-Shine spray or Testors Dullcote varnish. The main warning I have about this anti-shine procedure is don't use this spray with high humidity outside or lots of moisture in the air as the mini will dry cloudy with white spots and that ruins the model.
Part 2 coming soon! I will go over my Quick Shade dipping and basing techniques.